When working with spreadsheets, organizing data in the right format is essential for analysis, reporting, and clarity. Sometimes, after you have entered the data in a spreadsheet, you wonder whether the data would make more sense if it were flipped or the orientation was changed. The Transpose function enables you to accomplish all this without reentering the data, saving you a significant amount of time. In this article, we will explore how to transpose data in Excel using examples.
Table of Contents:
What Does Transpose Mean in Excel
Transpose in Excel means to switch the orientation of a data range. It flips or rotates the data. Rows become columns, and columns become rows. It’s like rotating your data 90 degrees.
Why Transpose Data in Excel?
- Enhancing Data Readability in Reports.
It is an ideal solution for reorganizing exported datasets by eliminating the need to re-enter the data. Consider a scenario where you’re preparing a monthly performance report for different departments in a company. The leadership team prefers to see the data vertically for each month, whereas you must have organized the data horizontally.
The transpose function will allow you to change the orientation in simple steps.
- Reorganizing Exported Data from External Systems
When you export data from an external source, its orientation may not be in your desired format. You can change this with the help of the transpose function.
- Preparing data for pivot tables or charts.
Sometimes your dataset needs a flipped layout to be used effectively in a PivotTable or visualization.
Now, let’s explore various methods for transposing the data.
How to Transpose in Excel Using Paste Special
Excel has a Paste feature that allows you to paste copied data from any source into your worksheet.
Paste Special is a more advanced option within the Paste feature that offers more control and flexibility over how data is inserted into an Excel worksheet. It has options like Values only that paste only the value of your copied content, removing any formulas or formatting, or Formulas only that only paste the formula, or Formats only that only paste the format.
One of the options that Paste Special provides is Transpose Rows and Columns. Let us understand step by step how to use it to transform your data. This is the fastest and beginner-friendly way to transpose your data.
Step-by-step guide:
- Step 1: Select the data range you want to transpose.
- Step 2: Right-click and select Copy (or press Ctrl + C).
- Step 3: Right-click on an empty cell where you want the transposed data.
- Step 4: Click on Paste Special > Choose Transpose
Before, the crop types (Kharif, Rabi, Zaid) were the column headers. After applying the transpose, they became the row headings.
Note: This creates a static copy of the data. This means that if the original data changes, the transposed data does not update automatically. You might have to manually adjust cell references or reapply the formula to maintain accuracy.
Shortcut:
If you like to work with shortcuts, then there is a default shortcut to access this feature.
- First, you copy the table you want to transform using Ctrl + C.
- Then you press Alt + E, followed by S for Paste Special
- Then, press E for transpose and hit Enter
How to Transpose Data in Excel with the TRANSPOSE Function
This method uses the formula TRANSPOSE(). You give the array of your table as a parameter, which is executed once Enter is pressed. This method keeps your transposed data linked to the original. The TRANSPOSE function does not carry over formatting, only values or formulas.
Step-by-step guide:
- Step 1: Select an empty area large enough to hold the transposed data.
- Step 2: Type the formula =TRANSPOSE(A1:E5)
- Step 3: Press Enter. For older versions of Excel (before Office 365/Excel 2019), it requires you to Ctrl+Shift+Enter

Note: This creates a dynamic copy. This means that if the original data is changed, the transposed data updates automatically.

How to Use Power Query to Transpose in Excel
Power Query is a data transformation tool present in Excel that allows you to import, clean, and reshape data from various sources. Transpose is a data reshaping technique that Power Query provides. This method is particularly helpful for large or external datasets.
Note: Power Query creates a new table separate from the original data.
Step-by-step guide:
- Step 1: Select your data. Go to the Data tab.
- Step 2: In the Get & Transform Data group, click From Table/Range.
- Step 3: In the Power Query Editor, go to the Transform tab.
- Step 4: Click Transpose.
- Step 5: After transposing, go to the Home tab and click Use First Row as Headers (if needed).
- Step 6: Click Close & Load to load the transposed data back into Excel.
How to Transpose in Excel Without Losing Formatting or Style
In Excel, when we transpose data, we often focus on the values and forget how important it is to have the same cell formatting, styles, and layout as well. It is important to note that not all transposition methods in Excel preserve that formatting. Knowing which method to use and when will save you time and keep your data intact.
Before transposing data, always ask yourself the following questions to focus on the method you should use according to your requirements
- Does your data include formulas?
- Should the transposed version update automatically?
- Do you need to preserve formatting or styles?
- Will others view or edit the transposed version?
The table below guides you to use which method in which situation.
| Condition | Recommended Method | Reason |
|---|---|---|
| Need to keep formatting | Paste Special > Transpose | Preserves original formatting, styles, and layout |
| Need data to update dynamically | TRANSPOSE() formula | Automatically reflects changes in the source data |
| Source data contains formulas | TRANSPOSE() formula | Retains formulas dynamically; no manual copy-paste required |
| The source data contains formulas and formatting | Paste Special > Transpose | Copies values and formatting, but formulas will not remain dynamic |
| Working with large or external datasets | Power Query | Efficient for handling complex and external data; supports transformation |
| Need editable transposed data | Paste Special > Transpose | Produces a static, user-editable version of the data |
| Automating transformations with refresh capability | Power Query | Enables refreshable, automated transformations and data loads |
| Sharing reports with consistent styling | Paste + Manual Formatting | Maintains desired visual appearance and presentation consistency |
| Need a readable layout after transposition | Paste Special or Manual Edit | Lets you reformat and rearrange cells for improved readability |
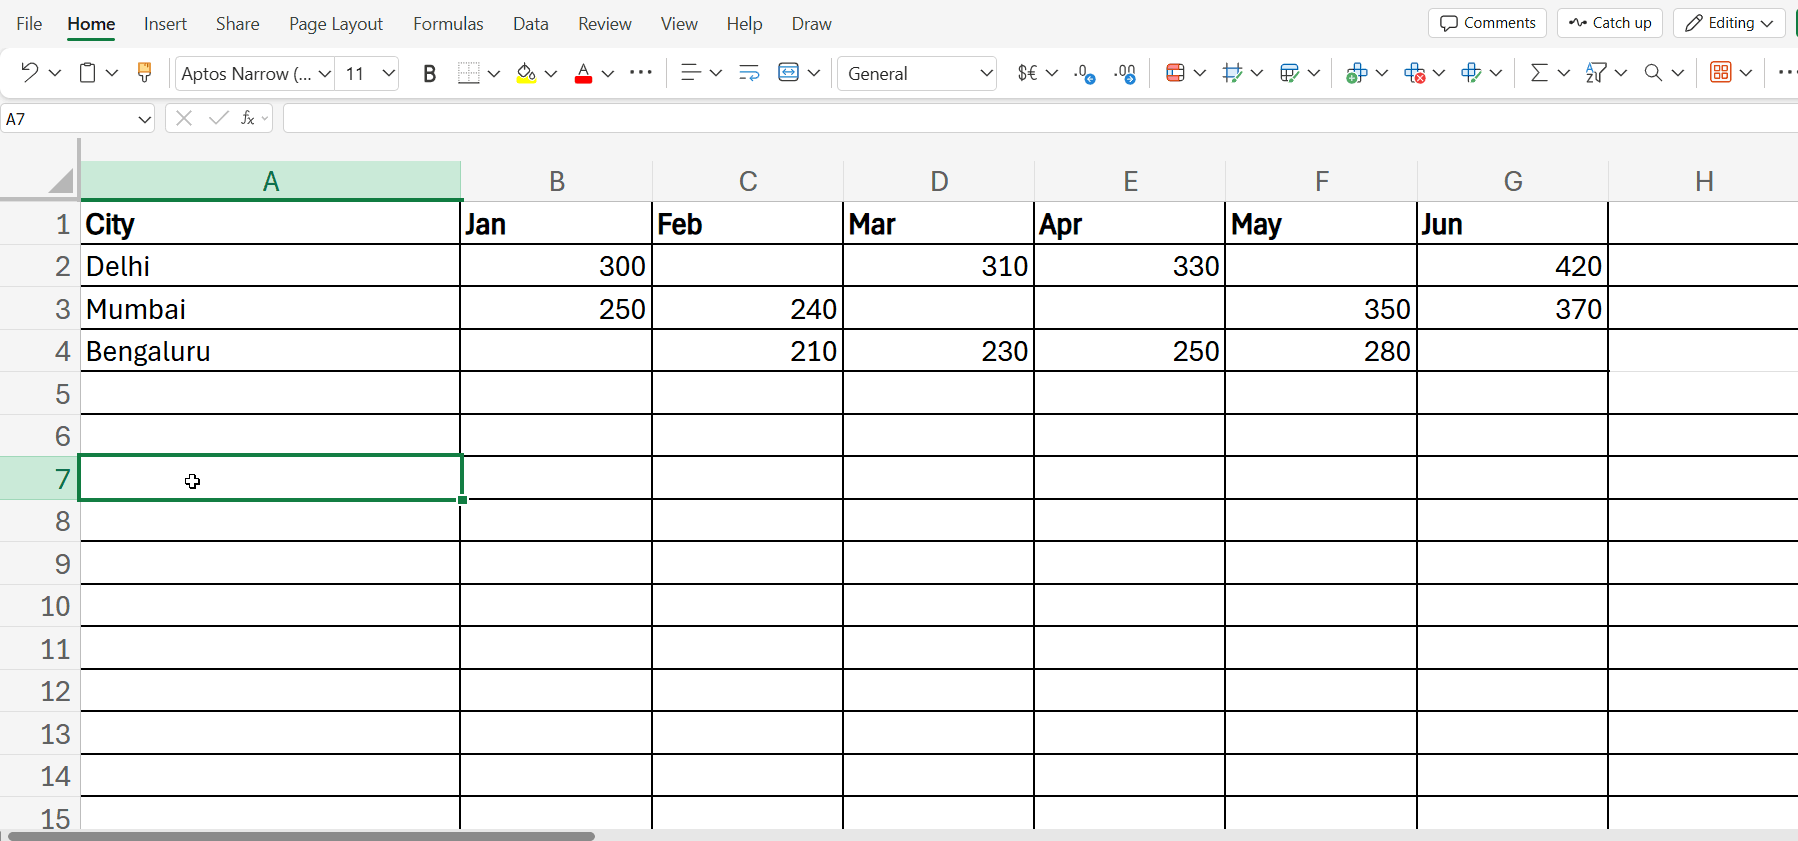
How to Handle Blank Cells While Transposing in Excel
When transposing data in Excel, blank cells can sometimes cause unexpected issues or affect the appearance of your transposed table. Whether you want to keep those blanks, replace them, or ignore them, Excel allows you to handle blank cells while transposing the data. With a few changes in the original formula, you can handle the blank value with ease.
By default, blank values are filled with zero when transposing the data using the TRANSPOSE() Function.

You can specify a value for blank cells, or you can leave it blank by adding an IF clause in the formula
=TRANSPOSE(IF(A1:G4=””, “Missing”, A1:G4))
A1:C3=””: Indicates all the blank cells
“Missing”: What do you want to set in the blank cell
A1:C3: Indicates which table you want these changes to apply to
If you want to leave the blank cell blank, you can do this using the following formula.
=TRANSPOSE(IF(A1:G4=””, “”, A1:G4))

Common Errors and Best Practices for Transposing Data in Excel
Transposing in Excel is simple, but a few mistakes can mess up your data and make it hard to understand. Let us break down the common mistakes users make and the best practices you should follow to fix these mistakes or prevent them altogether.
Common Errors
1. Forgetting to Use Paste Special
Users sometimes simply paste the data using the normal paste or the shortcut Ctrl + V. This will paste the data without transposing it, which was the original goal. Always remember to click Paste Special and then Transpose.
2. Transposing Formulas Without Adjusting References
When you transpose data that has formulas applied, you must provide the absolute reference ($A$1) in the TRANSPOSE() formula to preserve the formulas correctly. If you do not give the absolute reference, you might have to manually apply the formula.
3. Missing Hidden or Filtered Data
If you transpose data that is filtered or contains hidden rows or columns, the filtered data in hidden rows or columns might be skipped or not transposed correctly.. Before applying transpose, always make sure that all the cells are visible and filters are removed.
Best Practices
1. Work on a Backup Copy
Always copy your data to a new sheet or file before transposing. That way, you can safely undo or compare changes if something goes wrong.
2. Use Dynamic Formulas When Possible
If your data changes often, use the TRANSPOSE() function instead of Paste Special. Since Paste special copies data statically, any changes in the original table do not get reflected in the transposed table.
3. Clean Data First
Before transposing, apply basic cleaning to your data. This includes removing extra spaces using TRIM(), standardizing blank cells, and fixing formatting issues. This ensures that the transposed data has minimum errors.
4. Leverage Power Query for Complex Transpositions
For large or complicated datasets, use Power Query for transposing your data.
5. Use Tables for Easier Management
Convert your range to a table before transposing. Tables help maintain structure and make it easier to manage rows and columns after switching them. You can do this by selecting the range and using the shortcut Ctrl + T.
Conclusion
Transposing data in Excel is a powerful way to reorganize your information without retyping it. Whether you need a quick static layout or a dynamic, formula-driven transformation, Excel offers multiple ways to get it done. Consider your formatting needs, data sources, and whether the output should update dynamically to choose the right method.
To take your Excel skills to the next level, explore this comprehensive Excel training course and get hands-on practice. Also, get interview-ready with Excel interview questions curated by industry professionals.